If you would like to display an image within your event descriptions or landing page messages, follow the steps below.
When using graphics in these areas, we recommend using very small images. Larger images can cause excessive scrolling in your site and diminish user experience. Try to avoid too many images in the Schedule Message and in your events' short (abbreviated) descriptions when possible.
Inserting an Image
From within a text box, click the ellipsis button followed by the 'insert image' button.
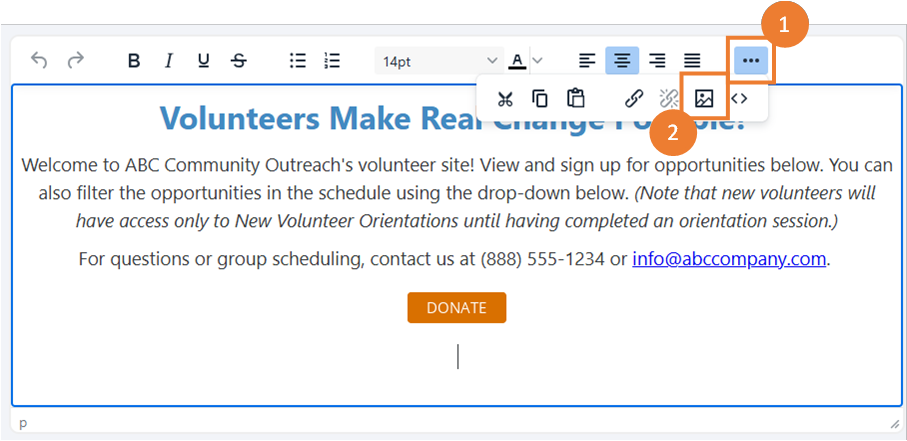
From here, there are three ways to insert an image
Inserting a New Image:
Navigate to 'Upload' and then either browse for the image or drag-and-drop into the box

Inserting a new image adds that image to the Uploads page and adds to the 'Image list' going forward.
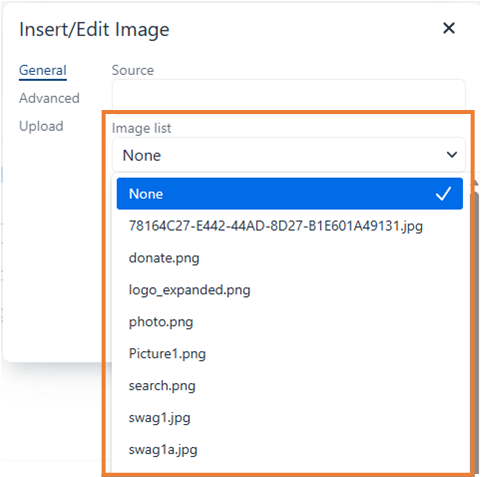
A Previously Uploaded Image
If the image has already been added to your Uploads page, it displays within the 'Image list' dropdown and can be selected
From a Source
If adding an image that already exists on the internet (e.g. one posted on your website), you may paste the source into the Source box

Once an image is uploaded, the filename cannot be modified. Best practice when adding new images is to ensure the file already has the desired name prior to uploading.
Should you have images existing on your site and wish to change the name, follow these steps:
1. Save the image on your computer with the Name you want to display
2. Navigate to Uploads and find the file
3. Click the 3-dot menu to the right and choose Replace File
4. Browse to the file from Step 1 and click Upload
Now the new name will appear in the Image dropdown list and any previous usage of the image remains intact.
Making an Image a Button
- Select the image
- Click the hyperlink (chain) icon
- Enter the URL
- Click 'Save'
